Book Appointment Now
Barrière anti-moisissure & isolant thermique pour vos sols
DMX 1-Step 2.0 ™ No Mold. No Cold.™

« Fonctionne comme prévu ! Bonne sensation sous le pied. »
1 Janvier 2025
Edward – Client Home Depot
« Nos entrepreneurs l’ont adoré, tout comme nous. Il s’agit d’une couche de protection supplémentaire pour notre béton au sous-sol. »
7 Mars 2025
Radlid -Client Home Depot
« Facile à installer et Mon plancher n’est pas froid. Je suis ravi d’avoir choisi ce produit. »
4 Avril 2025
Eazyt84 – Client Home Depot
« Produit incroyable ! Très facile à utiliser etle plancher est devenu parfait. »
16 Avril 2025
Nick – Client Home Depot
« Produit formidable pour notre projet de revêtement de sol au sous-sol. Facile à poser et semble vraiment plus chaud. »
1 Mai 2025
Kat – Client Home Depot
« J’ai adoré ce produit, il se pose facilement, ne fait aucun bruit de grincement ou de frottement une fois installé. »
1 Juin 2025
Demitri – Client Home Depot
« Le meilleur pour les sous-couches. Satisfait de la qualité du produit. »
2 Juillet 2025
– Client Home Depot
« J’ai été très satisfait du DMX. Il s’est installé très facilement, était facile à couper et il est resté plat. »
13 Août 2025
MF – Arizona – Client Home Depot
« Excellent produit, exactement ce que je voulais pour mettre mon plancher au sous-sol. »
11 Septembre 2025
DUANE – Client Home Depot
« Il était extrêmement facile à utiliser : simple à découper, rapide à installer et il reste parfaitement en place. »
24 Octobre 2025
– Client Home Depot

DMX 1-STEP 2.0™
À utiliser sous les planches de vinyle (≥5mm), les sols stratifiés et les parquets en bois d’ingénierie


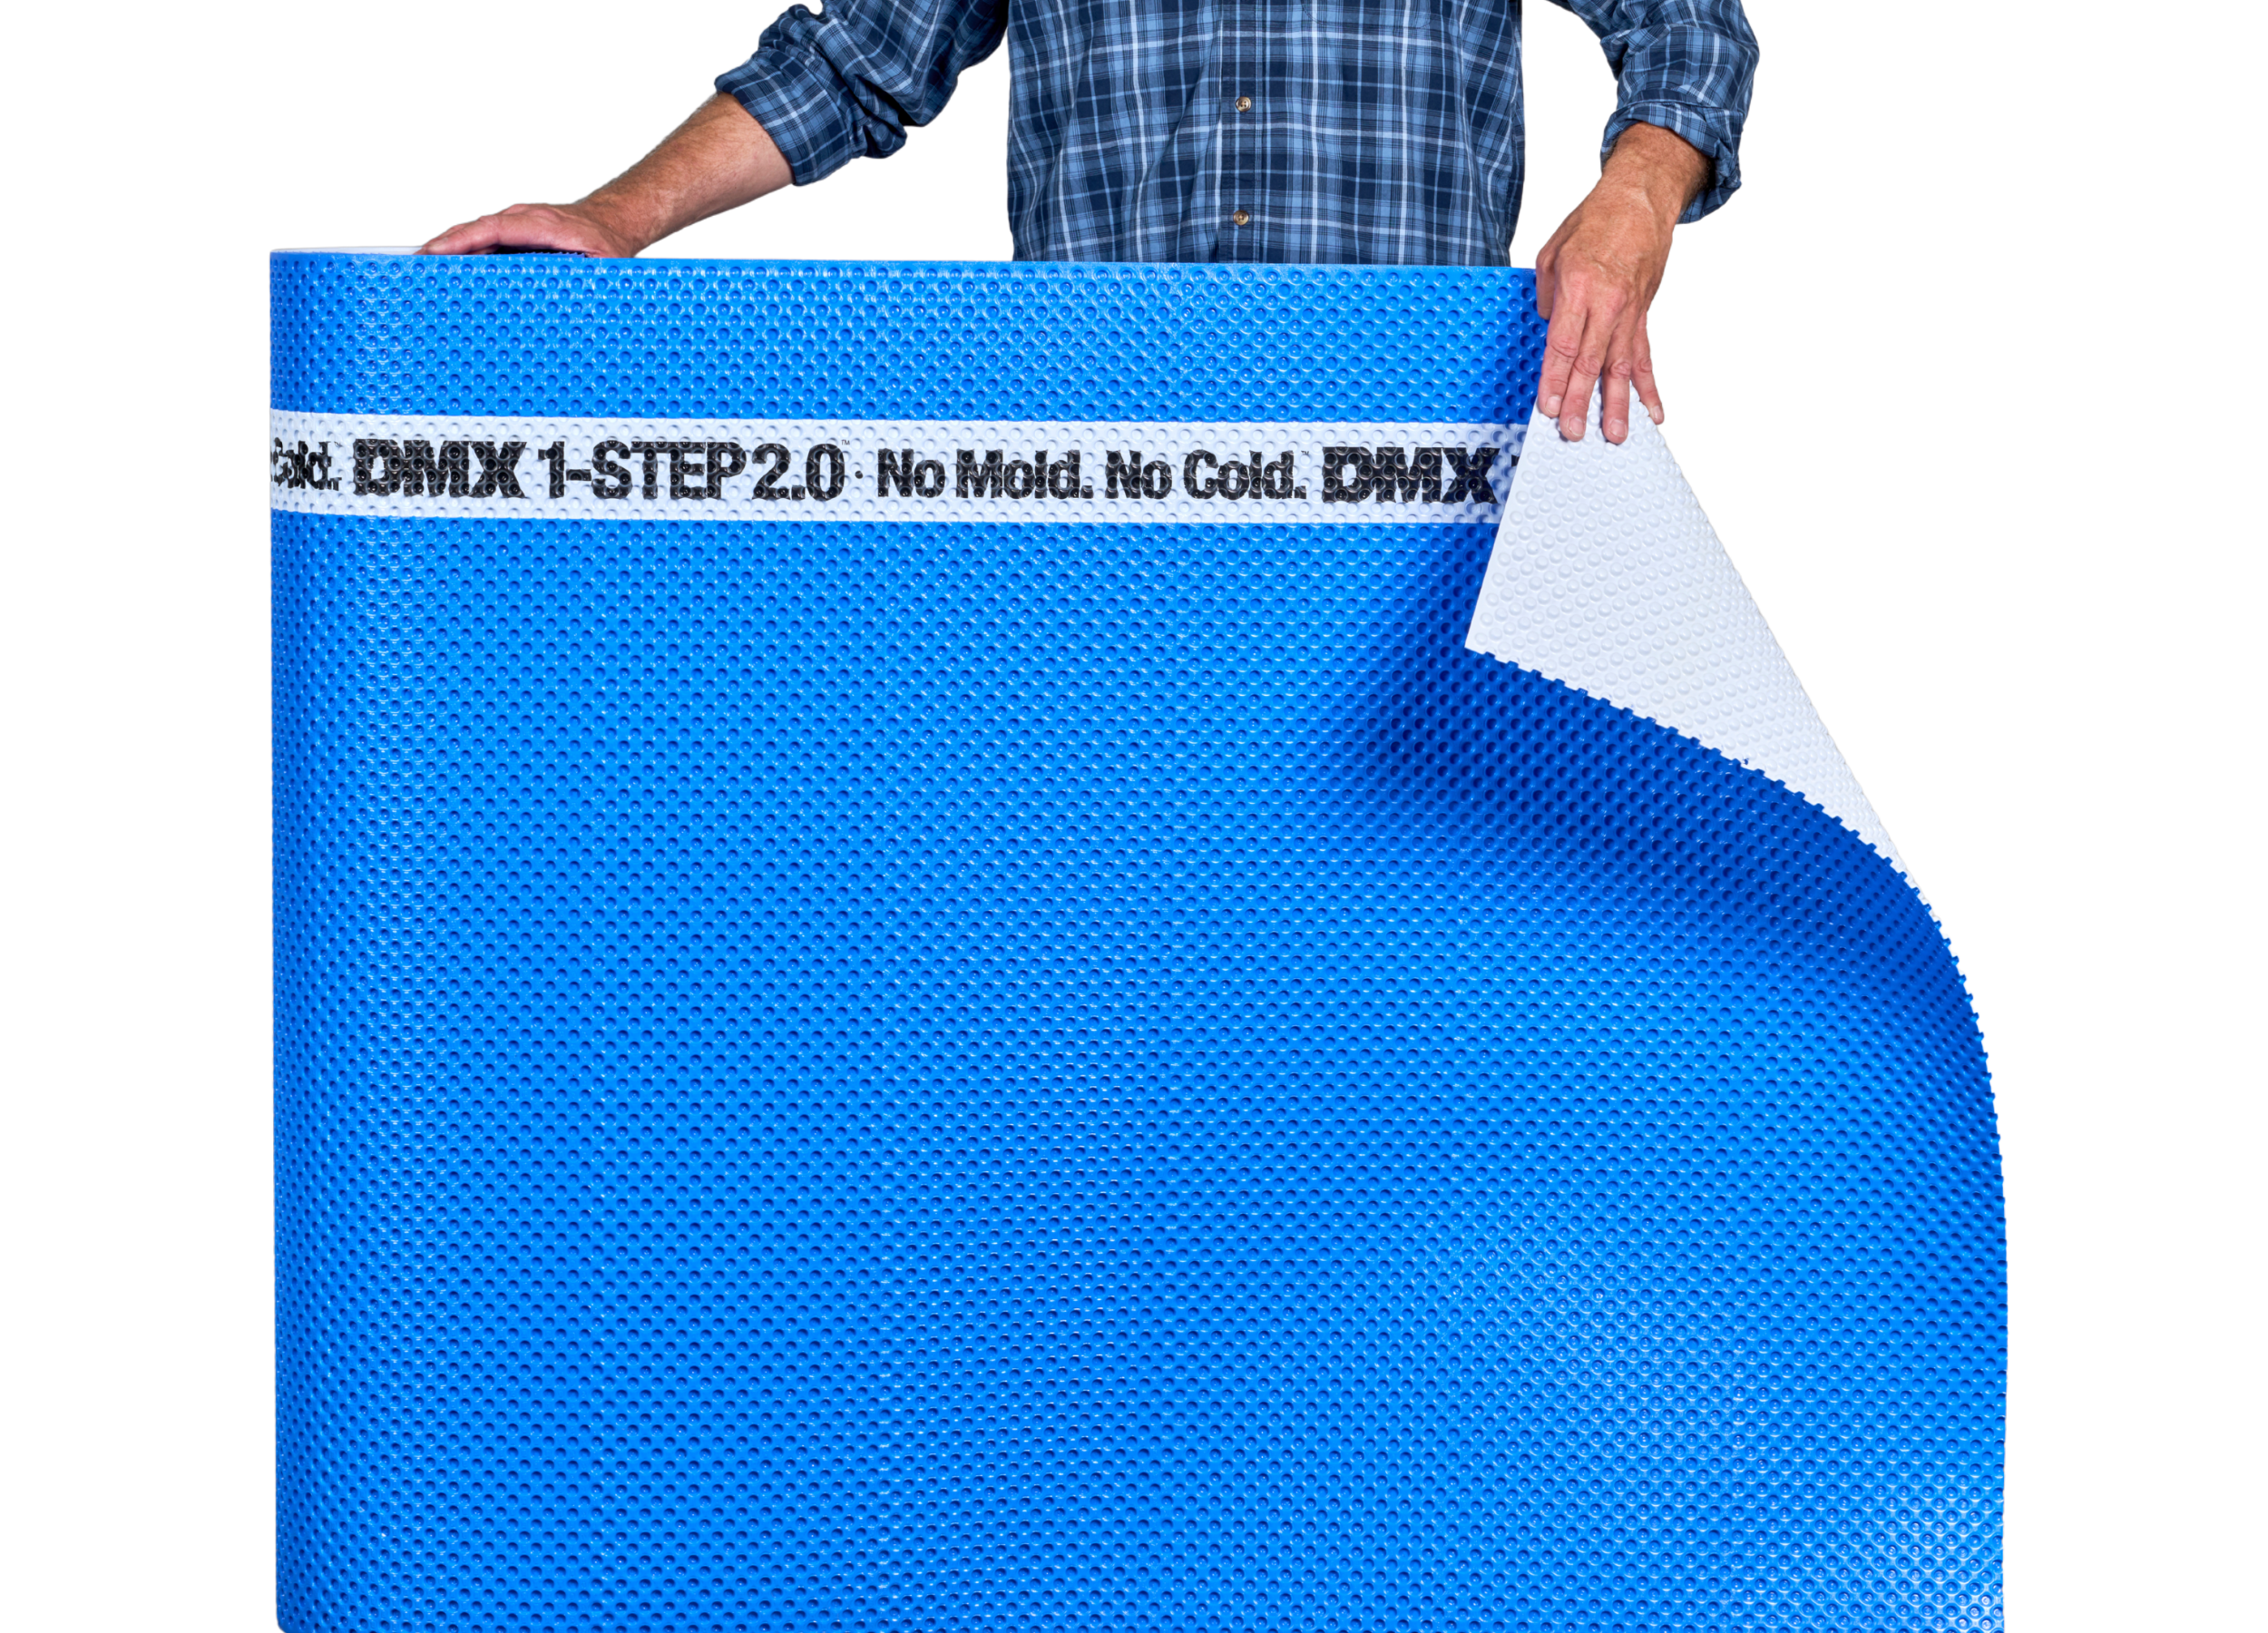
Protection contre l’humidité
La conception unique à alvéoles permet à l’humidité de s’évaporer, réduisant ainsi le risque de formation de moisissures

Isolation thermique
Augmente la température du sol jusqu’à 12 °F pour un confort douillet

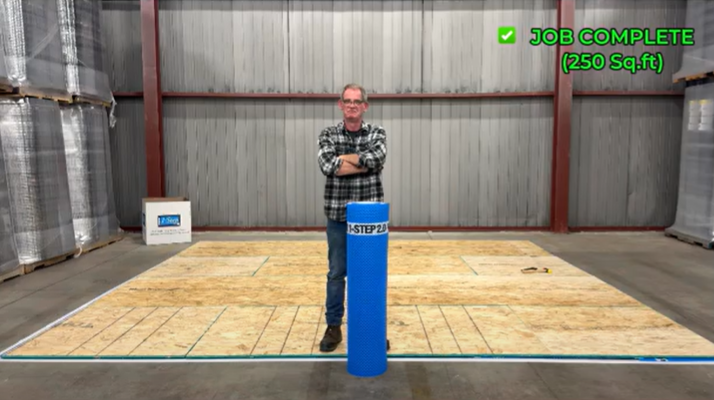
Installation facile
Pas besoin de contreplaqué ou de panneaux OSB – léger et rapide à installer

Garantie de 25 ans
Couverture complète pour une tranquillité d’esprit à long terme
Caractéristiques & avantages
Découvrez les caractéristiques & avantages pour les bricoleurs et les Contracteurs
Le saviez-vous ?
DMX 1-Step 2.0™. No Mold. No Cold.™


Le saviez-vous ?
DMX 1-Step 2.0™. No Mold. No Cold.™
Vidéos d’installation
Regardez nos tutoriels vidéo étape par étape pour une installation facile
Vidéo d’installation
Guide complet pour l’installation du sous-plancher DMX 1-Step 2.0
Cales DMX Easy Shims
Apprenez à utiliser des cales autonivelantes pour une installation parfaite de votre sol
Comparaison des installations
DMX 1-Step 2.0 vs panneaux de sous-plancher concurrents
Dimensions du produit
Spécifications techniques pour une installation professionnelle
| Dimensions | |
|---|---|
| Longueur du rouleau | 29 pi • 8,8 m |
| Largeur du rouleau | 42 po • 1,07 m |
| Hauteur des alvéoles | 5/32 po • 4 mm |
| Poids du rouleau | 16 lb • 7,5 kg |
| Couverture | 100 pi² • 9,38 m² |
Prêt à donner une nouvelle vie à votre plancher ?
Découvrez DMX 1-Step 2.0, la solution choisie par les professionnels pour prévenir les moisissures et assurer une isolation thermique optimale.

100 % sans COV
Sans danger pour votre famille et l’environnement
Garantie de 25 ans
Couverture complète incluse
Certifié NALFA
Norme de qualité reconnue par l’industrie