Book Appointment Now
Mold Barrier & Thermal Insulator For Your Floors™
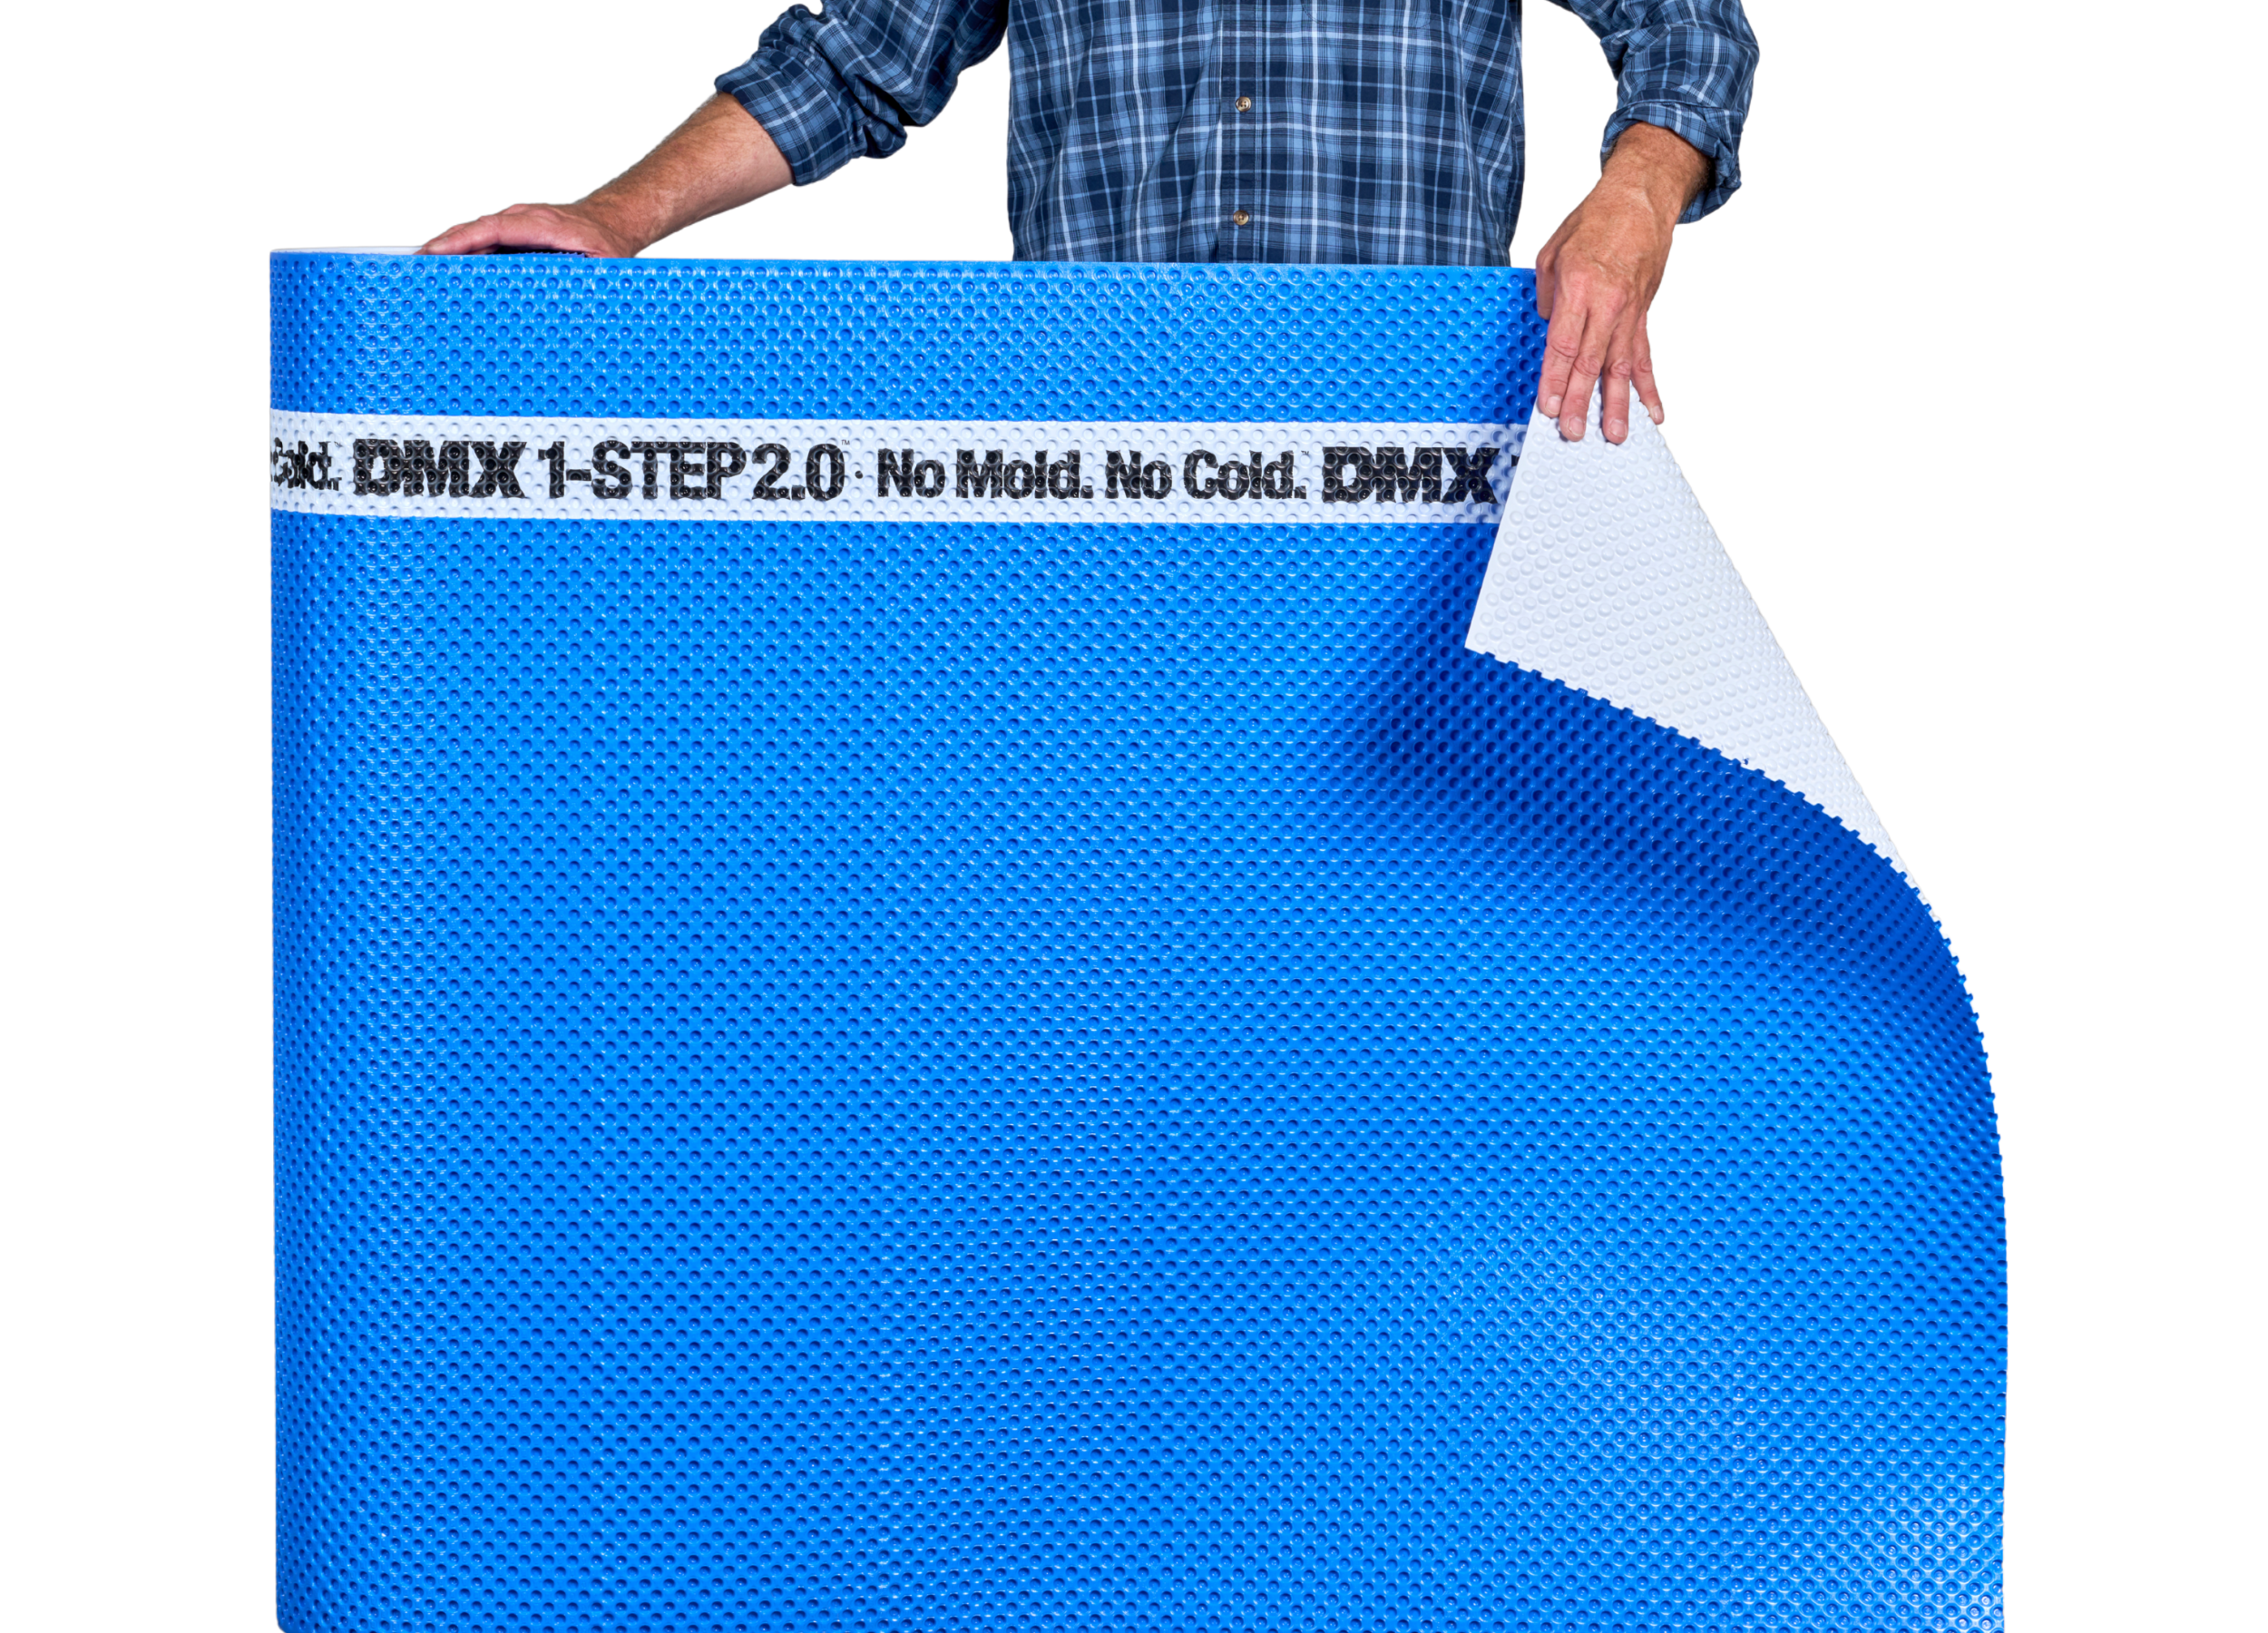
DMX 1-Step 2.0 ™ No Mold. No Cold.™

“Works as should! Good feel under foot”
January 1st, 2025
Edward – Home Depot Customer
“Our contractors loved it and so do we. It is an extra layer of protection on our concrete basement floors.”
Mar 7th, 2025
Radlid -Home Depot Customer
“Easy to install and my floors are not cold. So glad I chose this product.”
Apr 4th, 2025
Eazyt84 – Home Depot Customer
“Amazing product! Super easy to use and the floor came out perfect!!”
Apr 16th, 2025
Nick – Home Depot Customer
“Wonderful product for our basement flooring project. Went down easy and really does seem warmer”
May 1st, 2025
Kat – Home Depot Customer
“Loved the product, it lays well, doesn’t make any creaking or moving noises once its installed”
June 1st, 2025
Demitri – Home Depot Customer
“The best for underlayment. Satisfied with quality of the product.”
July 2, 2025
Home Depot Customer
“I was very pleased with the DMX. It installed very easily, was easy to cut and played flat.”
August 13, 2025
MF – Arizona – Home Depot Customer
“Great product, just what i wanted for my basement floors”
September 11, 2025
DUANE – Home Depot Customer
“It was extremely easy to work with: simple to cut, quick to install, and it stays perfectly in place.”
Oct 24, 2025
Home Depot Customer

DMX 1-STEP 2.0™
For Use Under Vinyl Plank (≥5mm), Laminate and Engineered Hardwood Flooring


Moisture Protection
Unique dimple design allows moisture to evaporate, reducing mold growth potential

Thermal Insulation
Increases floor temperature by up to 12°F for cozy comfort

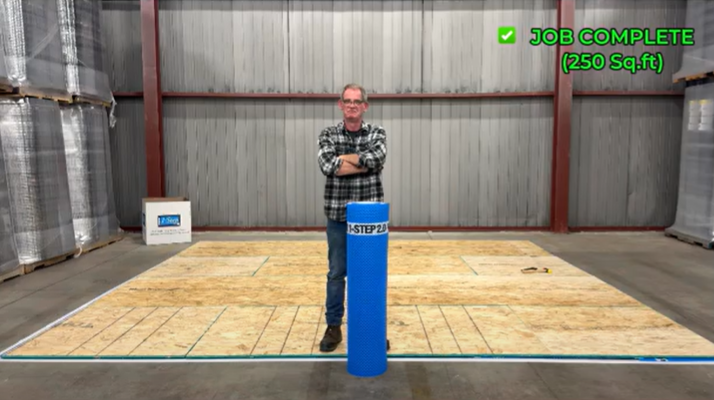
Easy Installation
No plywood or OSB needed – lightweight and quick to install

25-Year Warranty
Comprehensive coverage for long-term peace of mind
Features & Benefits
Explore the Features & Benefits For Both DIYers and Contractors
Did You Know?
DMX 1-Step 2.0™. No Mold. No Cold.™


Did You Know?
DMX 1-Step 2.0™. No Mold. No Cold.™
Installation Videos
Watch Our Step-by-step Video Tutorials For Easy Installation
Installation Video
Complete Guide To Installing DMX 1-Step 2.0 Underlayment
DMX Easy Shims™
Learn How To Use Self-Leveling Shims For Perfect Floor Installation
Installation Comparison
DMX 1-Step 2.0 vs Competitor’s Subfloor Panels
Product Dimensions
Technical Specifications For Professional Installation
| Dimensions | |
|---|---|
| Roll Length | 29 feet • 8.8 meters |
| Roll Width | 42 inches • 1.07 meters |
| Dimple Height | 5/32″ • 4 mm |
| Roll Weight | 16 lbs • 7.5 kg |
| Coverage | 100 sq.ft. • 9.38 sq.m. |
Ready to Transform Your Floors?
Experience The Difference With DMX 1-Step 2.0 – The Professional Choice For Mold Prevention And Thermal Insulation

100% VOC-Free
Safe For Your Family And The Environment
25-Year Warranty
Comprehensive coverage included
NALFA Certified
Industry-recognized quality standard